The procedure for creating a Job Journal is as follows:
Add [INS]
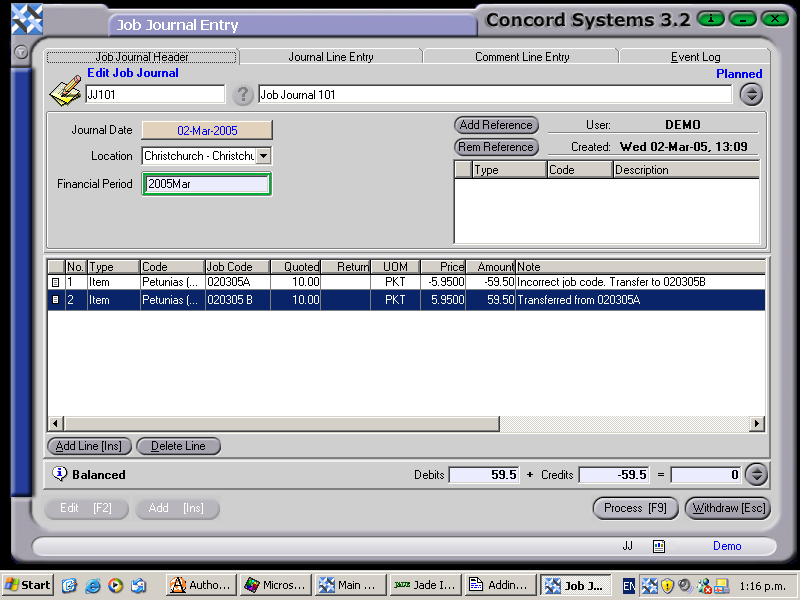
Create Job Journal. Enter a reference number for the Journal, and a longer description if required.
Save [F9]
Journal Date. Will default to the current date. To change the day, use the [up/down arrow keys], to change the month, use the [up/down arrow keys + shift key].
Location. Select location required, using the down arrow key.
Enter the Journal details, including the following
Type. Click on the down arrow to select Item.
Code. Enter the Item code, or use the [up/down arrow keys + shift key] to select.
Job Code. Enter the Job number to transfer from or to. Only "Jobs in Progress" may be selected.
Quoted. Use this column for entering the quantity of the transfer.
UOM. This defaults to the Unit of Measure for the Item code.
Price. The value of the Item being transferred. To transfer FROM a job code, the price should be reflected as a negative. To transfer TO a job code, the price should be reflected normally.
Amount. This is the Quoted Amount x Price.
Return. If an item is to be returned to stock, enter the quantity in this column.
7. When the journal debits and credits balance, Process [F9]. The options are:
Process, and Complete Immediately. The journal will be recorded against the job and will not be able to be edited.
Process and do not Complete Immediately. The journal will be recorded against the job, and will be able to be edited by creating a version of the transaction.
Hold. The journal will be recorded against the job in a planned state, and will be able to be edited.