The procedure for entering a Sale Return is as follows:
Select Customer. Enter the Customer name, or use the [up/down arrow keys] or click on the ? button for the customer list, highlight and select [F3].
Add [INS].
Customer Reference. Enter if required.
Add Line [INS] and enter the following details (These are the minimum details required. If further details need to be entered, right click on the column headings, select column and turn the options on or off).
Type. Select Item.
Code. Enter the Item Code, or use the [up/down arrow keys + shift key] to scroll and select.
UOM. The Unit of Measure will default to that of the Item Code selected.
Return. Enter the quantity returned.
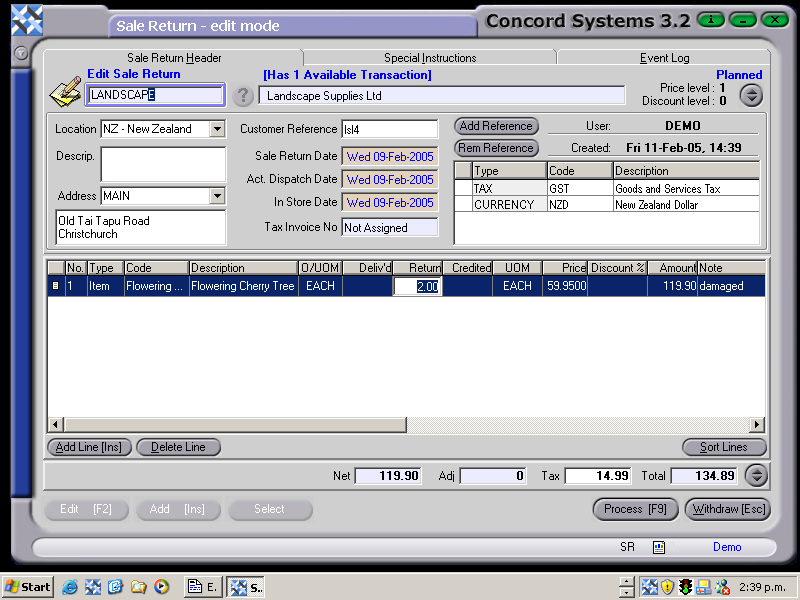
Price. This will automatically default to the price of the Item Code selected, however, it can be changed if a special price has been entered.
SR fig1
5. Process [F9], and select from the following options.
Process. The Sale Return will be confirmed, but not completed, as it will be waiting for a Sale Credit to be raised from it. It is still able to be edited, by the creation of another Version.
Hold. The Sale Return will be held in a Planned state and is still able to be edited. A Sale Credit will not be able to be raised from it until the transaction is processed as confirmed.
Delete.
Another option is to:
Create a New Job. This will automatically upon Processing, create a new Job Number with the same reference number as the Sale Return.
A processed Sale return will not assign a Tax invoice number, as it is not a monetary transaction. This needs to be achieved through the Sale Credit <SC> function.